

Friday, November 8, 2013
Monogram Phone Cover
I finally upgraded my cell phone this week, after I broke the other beyond repair. Almost three years with an iPhone was well worth. I needed to get a new case quick, before I dropped the new iPhone. Verizon is having a buy one get one (BOGO) sale on the iPhone 5 Lifeproof cases right now. So, I decided to get it even though it doesn't allow for the finger scanner. I would have loved to have one of the cases monogrammed, but didn't want to pay well over $100 for the case. This is where my lovely Silhouette Cameo came into play. I measured the space on the back of the phone, and quickly cut a vinyl monogram out to use on the back. So simple. :)

Friday, November 1, 2013
Tailgate Cooler

Have I told you how much I love my Silhouette Cameo? Well, I LOVE it! It is definitely a craft tool that every person can use. My husbands oldest daughter loves UGA, so I decided to make her UGA themed cooler. Now, I did not do the Georgia "G," we bought the cooler from Wal-Mart with the symbol already on there.
Supplies:
Cooler
Vinyl color of choice
Silhouette Cameo (or you can buy pre-cut vinyl at any craft store)
mod podge
paint sponge brush
First off, I used the Silhouette to make the vinyl dots and monogram. I initally tried just sticking the vinyl on the cooler, but it did not adhere so well. Next, I tried laying the cooler down, placing the vinyl where I wanted it, and then mod lodging it... it was an epic fail too. The mod podge peeled right off once it was dry on the areas where there was no vinyl, and made the cooler look terrible. So, I re-cut the vinyl again (but used smaller circles this time... not shown in pictures :/). I individually put mod podge on the back of each circle and the monogram which did the trick. These pictures of the cooler attempt before I redid it without brushing mod podge everywhere.
Just remember to only put mod podge on the back on the circles and monogram. DO NOT mod podge the entire cooler.!

Now, she will be ready for some UGA tailgating. :)
Happy Crafting!
Tuesday, October 29, 2013
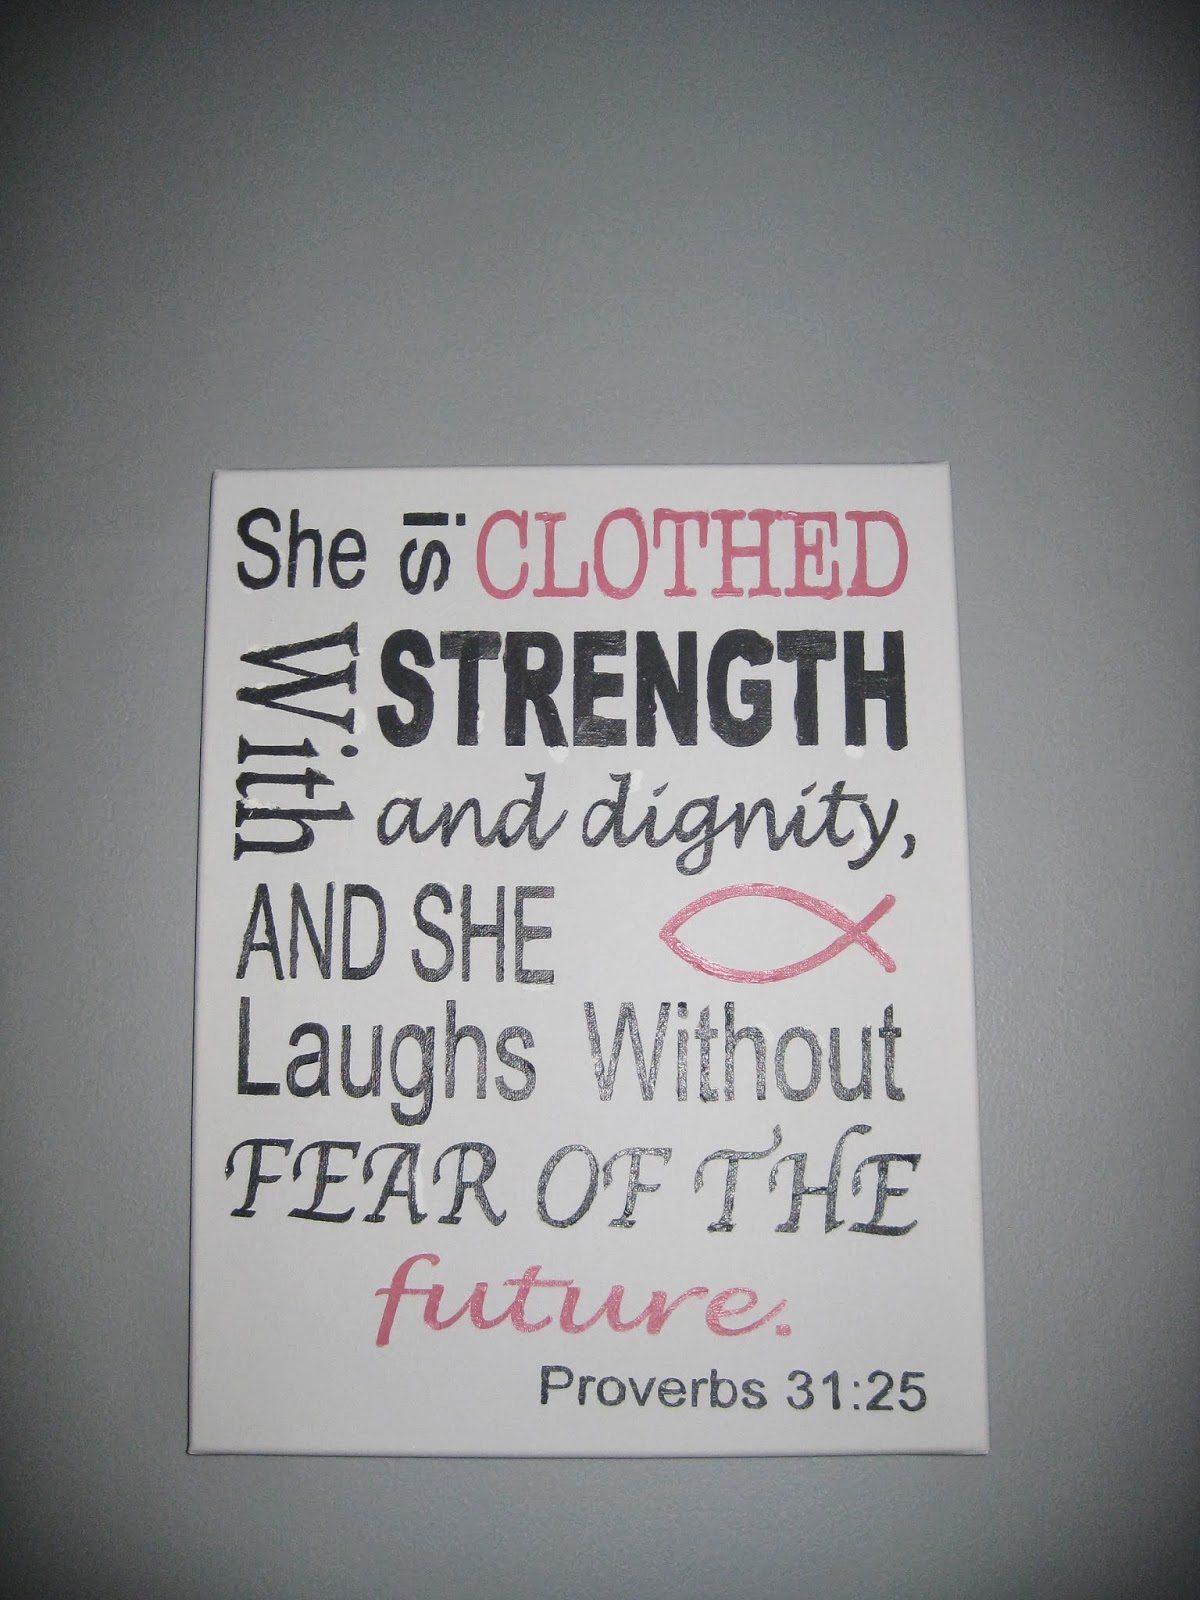
Painted Canvas Signs

These signs were so easy to make and cheap. I used my Silhouette Cameo to make the vinyl template, and laid it down the canvas. I didn't not use transfer paper, because I was going to "pop" the letters out anyways. After popping the letters out, I just painted and it let dry. Once it had dried I peeled the template off. So simple.

Now, if you don't have a Silhouette, you can always paint your canvas and lay down vinyl store bought letters. After laying down your vinyl letters you will need to just paint over the whole canvas in a different color. Let the paint dry, and peel off your vinyl letters. :)
Happy Crafting. :)
Saturday, October 26, 2013
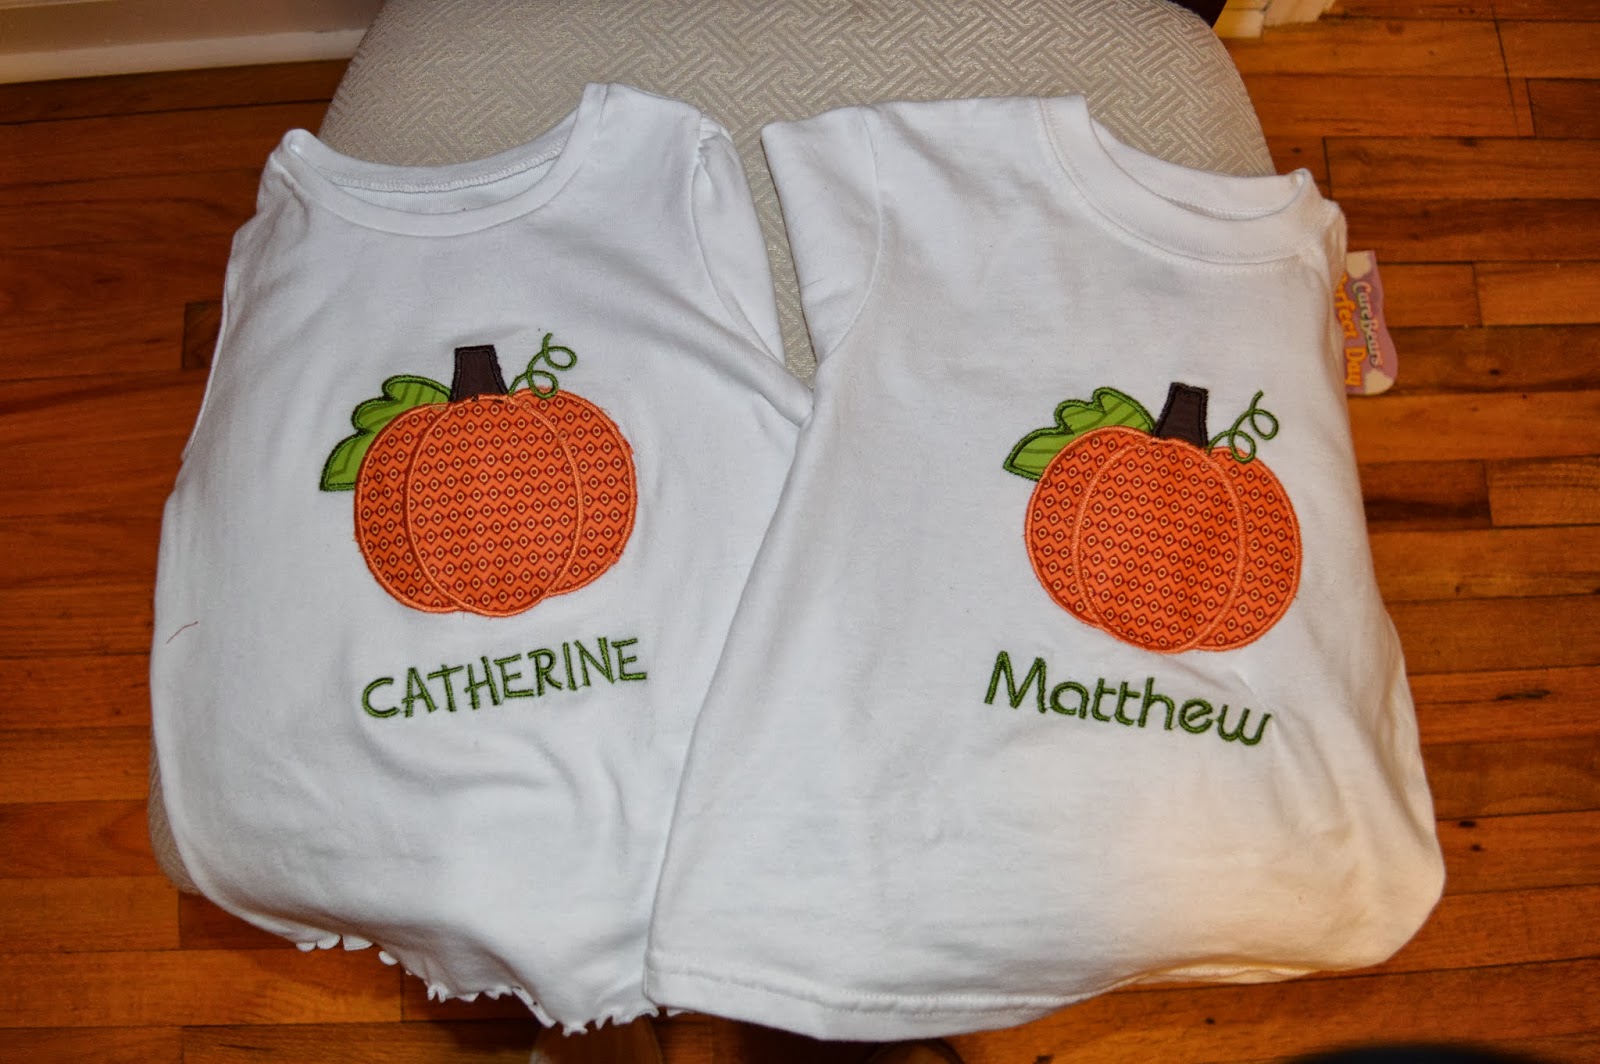
Pumpkin Patch
Thursday, October 17, 2013
Boo For You Halloween Wreath
Halloween Wreath

Materials:
21" Halloween deco mesh (I just used one, but probably should have used 1.5-2 rolls)
2 (or more) color of 5.5" deco mesh to coordinate with the 21"
wire wreath
black pipe cleaners

I looped the 21" deco mesh around the outside ring of the wired wreath with black pipe cleaners. I did cut the pipe cleaners in fourths for this part.

After the outside loop I then skipped a wire, and looped the mesh around the 3rd wire. (if I did it again, I would probably alternate it back and forth from the outside loop to the 3rd loop).


Next, I cut about 6-8 inches of the green and orange deco mesh, and just twisted it in the direction it naturally curls. Alternate the colors and pinch from the bottom. Once I folded the curly-cues up, they were bond with a pipe cleaner that was cut in half.

I did two curly-cues of each color per bunch.

You can add any decoration you would like. :)

Happy Crafting.
Thursday, October 3, 2013
Hair Bow Holder
After I learned to make hair bows, I went on a bow making frenzy and before I knew it Catherine had so many bows laying around everywhere. Unfortunately, there is not a craft store in my little town so I headed on over to Wal-Mart to check out the craft aisle. I picked up a wood plaque pictured below and decided it would do. Happy Crafting...


Materials:
wood plaque
paint color of your choice
ribbon
hot glue gun
vinyl letters
drill
thumb tack/ or nail
I used some left over paint that I had laying around the house to paint the plaque. There is actually an edge on this plaque that I painted white, and rest is painted pink (Catherine's favorite color at this stage). Next, you will need to cut your ribbon to the length you prefer, with the end ribbons the same length and the middle ribbon a tad bit longer. Hot glue the ribbon with equal distance between to the back of the plaque. I then had my husband drill a hole in the top center of the plaque, so I could hang it on the wall (just make sure you don't go through the plaque. I used my Silhouette Cameo to make the vinyl letters for Catherine's initials. You can buy vinyl letters at Wal-Mart or any craft store as well. I also used a thumb tack to hang the hair bow holder with, because I don't like big holes in the wall.


Wednesday, October 2, 2013
Happy Fall Y'all!
I have been wanting to make a pumpkin deco mesh wreath for some time now, and I finally got around to it. It was very easy to make too, and I am loving the way it turned out. Hope you enjoy :)


Materials Used:
1 Medium wire wreath hoop
14 Orange Pipe Cleaners
1 roll of 21"Orange Deco Mesh
small roll of black deco mesh
wired ribbon of any color
hot glue gun
I did paint the hoop (partially). I then tied 7 pipe cleaners on top and 7 pipe cleaners on bottom. Once they were place, I hot glued the pipe cleaners to ensure they wouldn't slide around.

I left about 8" of mesh for a tail, and gathered the mesh by just pinching it.

Next, place the deco mesh into the pipe cleaners and twist it off. You will want to leave enough room to make the pumpkin poofy.

Just weave the mesh back and forth until you cover the entire length of the wreath.

I then used wire ribbon to make a bow, and black deco mesh for the pumpkin steam.

Subscribe to:
Comments (Atom)


